

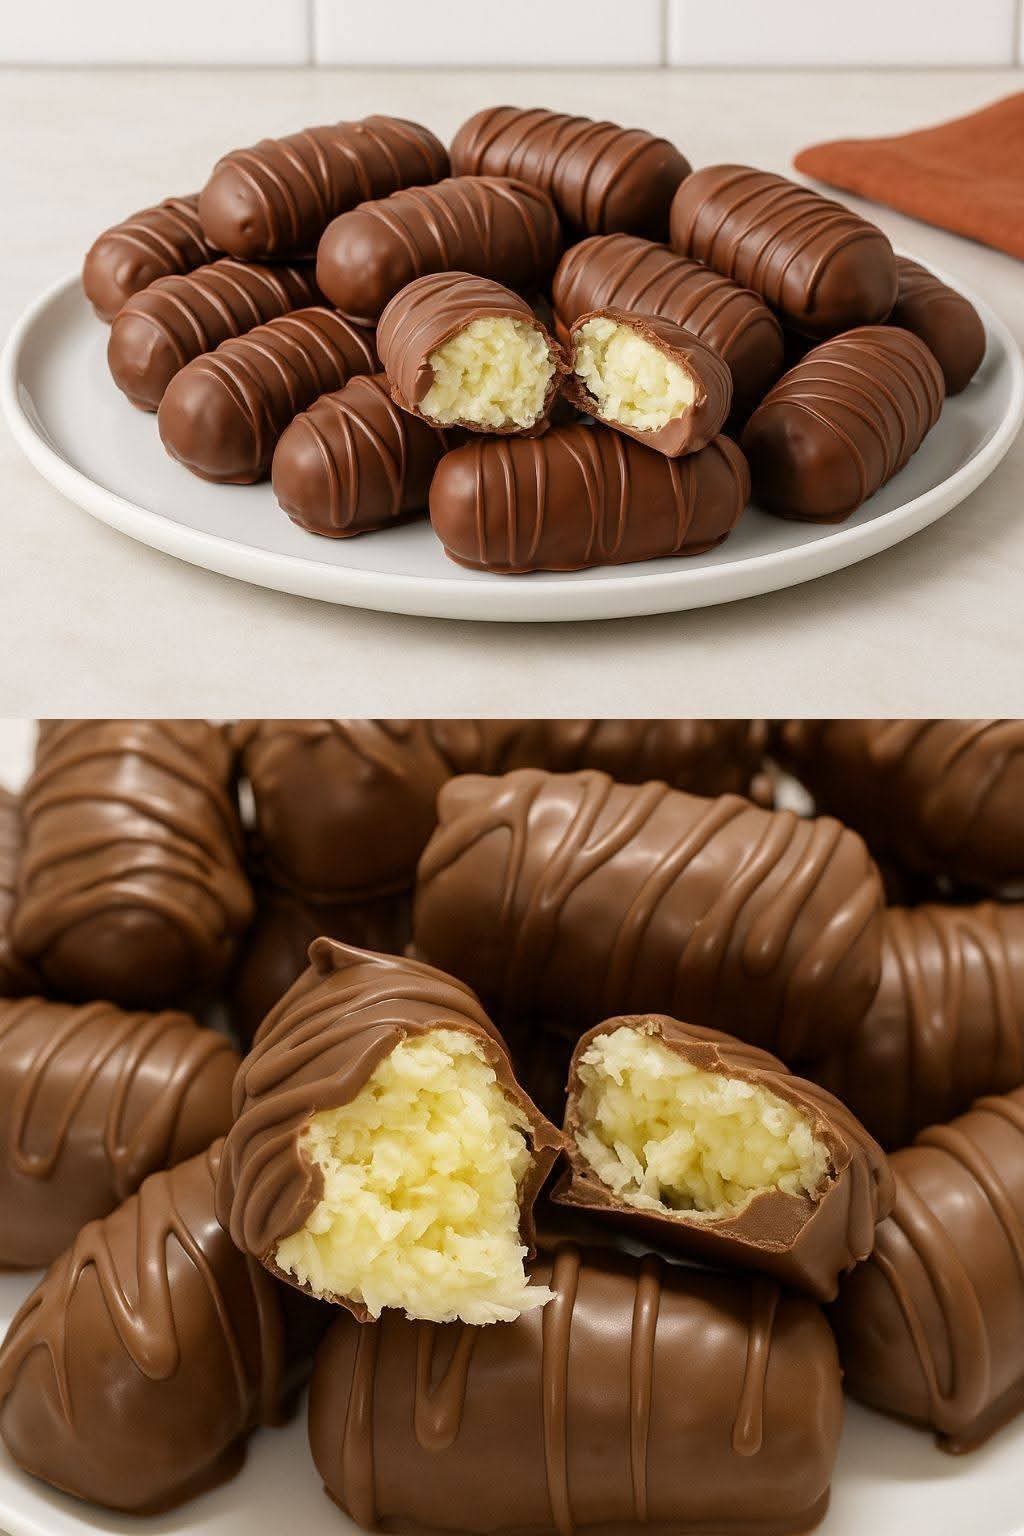
Milk Chocolate Candy With 4 Simple Ingredients
Introduction
Homemade Milk Chocolate Candy is one of the easiest and most satisfying sweet treats you can make. With only four simple ingredients, you can create smooth, creamy chocolates that rival store-bought candy. These bite-sized delights are perfect for holidays, birthdays, gift boxes, dessert platters, or simply enjoying with a cup of coffee or tea.
Making chocolate candy at home allows you to customize the flavor, sweetness, and toppings. You can add nuts, dried fruits, sprinkles, sea salt, or caramel to create endless delicious variations. This recipe is beginner-friendly and requires very little preparation, making it ideal for home bakers of all skill levels.
History of Milk Chocolate Candy
Chocolate has a fascinating history that dates back over 3,000 years to the ancient civilizations of Central America, where cacao beans were treasured and used to make a bitter ceremonial drink. In the 19th century, the invention of milk chocolate transformed the chocolate industry. By combining cocoa with milk powder and sugar, chocolatiers created the smooth, creamy chocolate loved around the world today.
Homemade chocolate candies became increasingly popular because they are inexpensive, easy to prepare, and can be customized for every occasion.
Yield
- Makes: 24–30 chocolate candies
- Preparation Time: 15 minutes
- Chilling Time: 1–2 hours
- Total Time: About 2 hours
Nutritional Information (Per Candy)
Approximate values:
- Calories: 90 kcal
- Protein: 1 g
- Carbohydrates: 9 g
- Fat: 6 g
- Saturated Fat: 3.5 g
- Sugar: 8 g
- Fiber: 0.5 g
- Sodium: 12 mg
- Calcium: 3% DV
- Iron: 2% DV
Ingredients
Only 4 simple ingredients:
- 2 cups (340 g) milk chocolate chips or chopped milk chocolate
- 2 tablespoons unsalted butter
- 2 tablespoons sweetened condensed milk
- 1 teaspoon pure vanilla extract
Optional Add-Ins
- Chopped almonds
- Chopped hazelnuts
- Pistachios
- Crushed peanuts
- Mini marshmallows
- Crispy rice cereal
- Toffee bits
- Crushed cookies
- Coconut flakes
- Sea salt flakes
- Dried cranberries
- Rainbow sprinkles
Equipment
- Microwave-safe bowl or heatproof bowl
- Saucepan (for a double boiler)
- Silicone spatula
- Chocolate molds or mini cupcake liners
- Measuring cups and spoons
- Refrigerator
Instructions
Step 1: Prepare the Molds
Place silicone chocolate molds or mini paper liners on a tray.
Step 2: Melt the Chocolate
Using a microwave:
- Heat the chocolate in 20-second intervals, stirring after each interval until smooth.
Or use a double boiler:
- Place the bowl over gently simmering water.
- Stir continuously until melted.
Step 3: Add Remaining Ingredients
Stir in:
- Butter
- Sweetened condensed milk
- Vanilla extract
Mix until smooth, glossy, and creamy.
Step 4: Add Mix-Ins (Optional)
Fold in your favorite nuts, dried fruits, or crispy cereal if desired.
Step 5: Fill the Molds
Spoon the chocolate mixture evenly into the prepared molds.
Tap the molds gently on the counter to remove any air bubbles.
Step 6: Chill
Refrigerate for 1–2 hours, or until the candies are completely firm.
Step 7: Unmold
Carefully remove the chocolates from the molds.
Store in an airtight container until ready to enjoy.
Preparation Methods
Microwave Method
Fast, convenient, and perfect for beginners. Heat gently in short intervals to avoid scorching the chocolate.
Double Boiler Method
Provides gentle, even heat and creates an especially smooth, glossy chocolate mixture.
Tips for Perfect Chocolate Candy
- Use high-quality milk chocolate for the best flavor.
- Melt the chocolate slowly to prevent it from seizing.
- Ensure all bowls and utensils are completely dry, as even a small amount of water can cause chocolate to become grainy.
- Chill the candies until fully set before removing them from the molds.
- Decorate with nuts, sprinkles, or sea salt immediately after filling the molds so the toppings stick.
Flavor Variations
- Milk Chocolate Almond Candy
- Peanut Butter Milk Chocolate Candy
- Salted Caramel Chocolate Candy
- Cookies and Cream Chocolate Candy
- Coconut Chocolate Candy
- Mint Chocolate Candy
- Orange Chocolate Candy
- Espresso Chocolate Candy
- White Chocolate Swirl Candy
- Chocolate Hazelnut Candy
Serving Suggestions
These candies are delicious:
- With coffee or hot chocolate
- As an after-dinner treat
- In homemade gift boxes
- On holiday dessert platters
- At birthday parties
- With ice cream
- Chopped over brownies
- Wrapped individually as edible gifts
Storage
- Room Temperature: Up to 1 week in a cool, dry place.
- Refrigerator: Up to 3 weeks in an airtight container.
- Freezer: Up to 3 months. Thaw in the refrigerator before serving.
Why People Love This Recipe
Milk Chocolate Candy is loved because it is incredibly easy to make with just four pantry ingredients. The candies have a rich, creamy texture and can be customized with countless flavors and mix-ins. They require no special equipment, making them perfect for beginners, and they are ideal for sharing with family, friends, or as thoughtful homemade gifts.
Conclusion
This Milk Chocolate Candy With 4 Simple Ingredients recipe proves that homemade candy doesn’t have to be complicated. With minimal effort and just a handful of ingredients, you can create smooth, creamy chocolates that are perfect for every occasion. Whether you keep them simple or personalize them with your favorite add-ins, these homemade candies are sure to become a favorite treat that everyone will love.