

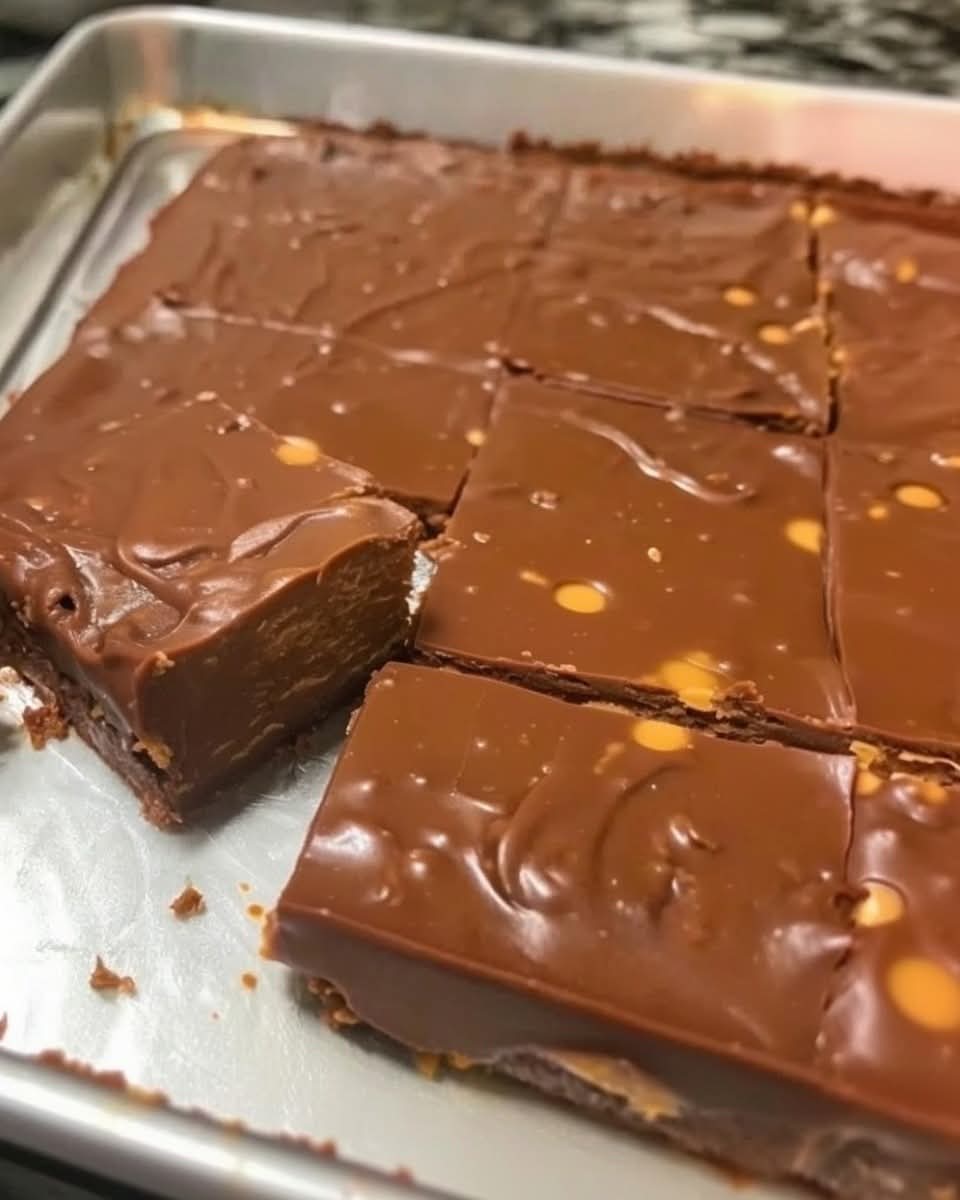
My Mom’s Fudge
Introduction
Few homemade treats are as comforting and nostalgic as My Mom’s Fudge. Rich, creamy, and irresistibly chocolatey, this classic confection has been passed down through generations, bringing families together during holidays, birthdays, and cozy evenings at home. Every bite melts in your mouth with a perfect balance of sweetness and deep cocoa flavor. Whether you’re making it as a thoughtful homemade gift or simply satisfying a chocolate craving, this timeless recipe is easy enough for beginners while delivering bakery-quality results.
Recipe Information
- Recipe Name: My Mom’s Fudge
- Cuisine: American
- Course: Dessert
- Difficulty: Easy to Moderate
- Preparation Time: 15 minutes
- Cooking Time: 10 minutes
- Cooling Time: 3–4 hours
- Total Time: About 4 hours 25 minutes
- Yield: 36 small squares
Nutritional Information (Approximate per piece)
- Calories: 145
- Protein: 2 g
- Carbohydrates: 18 g
- Sugars: 17 g
- Fat: 8 g
- Saturated Fat: 5 g
- Cholesterol: 10 mg
- Sodium: 30 mg
- Fiber: 1 g
- Calcium: 4% Daily Value
- Iron: 5% Daily Value
Nutritional values vary depending on ingredients used.
Ingredients
- 2 cups granulated sugar
- ½ cup unsalted butter
- ⅔ cup evaporated milk
- 1 package (12 oz/340 g) semi-sweet chocolate chips
- 1 jar (7 oz/198 g) marshmallow creme
- 1 teaspoon pure vanilla extract
- 1 pinch salt
- 1 cup chopped walnuts or pecans (optional)
Equipment Needed
- Medium saucepan
- Wooden spoon or silicone spatula
- Candy thermometer (recommended)
- 8×8-inch baking pan
- Parchment paper
- Measuring cups and spoons
Instructions
Step 1: Prepare the Pan
Line an 8×8-inch baking pan with parchment paper, leaving extra paper hanging over the sides for easy removal.
Step 2: Heat the Base
Combine sugar, butter, evaporated milk, and salt in a saucepan over medium heat.
Step 3: Bring to a Boil
Stir continuously until the mixture reaches a full rolling boil. Continue boiling for about 5 minutes while stirring constantly.
Step 4: Add Chocolate
Remove from heat and immediately stir in chocolate chips until completely melted.
Step 5: Add Remaining Ingredients
Mix in marshmallow creme, vanilla extract, and chopped nuts if using.
Step 6: Pour into Pan
Spread the fudge evenly in the prepared pan.
Step 7: Cool
Allow the fudge to cool at room temperature before refrigerating for several hours until firm.
Step 8: Slice and Serve
Lift the fudge out using the parchment paper and cut into neat squares.
Preparation Methods
Traditional Stovetop Method
The classic method creates a smooth, creamy texture and authentic homemade flavor.
Microwave Method
Heat the butter and milk, then stir in the remaining ingredients. This method is quicker but requires careful mixing.
Slow Cooker Method
Cook on low heat until everything melts smoothly, stirring occasionally before pouring into the pan.
Tips for Perfect Fudge
- Measure ingredients accurately.
- Stir constantly while boiling.
- Don’t overcook, or the fudge may become crumbly.
- Use high-quality chocolate for the richest flavor.
- Let the fudge cool completely before cutting.
- Warm the knife slightly for clean slices.
Flavor Variations
Peanut Butter Fudge
Replace half of the chocolate chips with peanut butter chips.
Cookies and Cream
Fold crushed chocolate sandwich cookies into the finished mixture.
Rocky Road
Add mini marshmallows and almonds.
Salted Caramel
Swirl caramel sauce through the fudge and sprinkle with flaky sea salt.
Mint Chocolate
Add peppermint extract and green food coloring for a festive twist.
Espresso Chocolate
Mix in 1 teaspoon of espresso powder for a deeper chocolate flavor.
History
Chocolate fudge originated in the United States during the late 19th century. Legend has it that the first batch was created accidentally when a caramel recipe was “fudged,” leading to the candy’s memorable name. By the early 1900s, fudge had become especially popular in college towns and family kitchens. Homemade recipes like My Mom’s Fudge have remained treasured family traditions because they are simple, delicious, and perfect for sharing during holidays and celebrations.
Storage
- Store in an airtight container at room temperature for up to one week.
- Refrigerate for up to three weeks.
- Freeze for up to three months.
- Separate layers with parchment paper to prevent sticking.
Serving Suggestions
- Serve with coffee or hot chocolate.
- Add to holiday dessert platters.
- Wrap in decorative boxes as homemade gifts.
- Crumble over vanilla ice cream.
- Pair with fresh strawberries or raspberries.
Why People Love This Recipe
- Rich and creamy texture.
- Deep chocolate flavor.
- Easy to make with simple ingredients.
- Perfect for holidays and family gatherings.
- Great for gifting.
- Can be customized with favorite mix-ins.
- Stores well for weeks.
- A nostalgic recipe that brings back childhood memories.
Common Mistakes to Avoid
- Overheating the sugar mixture.
- Not stirring enough while boiling.
- Using low-quality chocolate.
- Cutting before fully cooled.
- Skipping the parchment paper.
Conclusion
My Mom’s Fudge is more than just a dessert—it’s a family tradition filled with warmth, love, and unforgettable chocolate flavor. Its silky texture, rich taste, and simple preparation make it a recipe you’ll return to again and again. Whether you’re making it for the holidays, sharing it with friends, or enjoying a quiet treat at home, this homemade fudge is sure to become a favorite for generations to come.
For Fudge Lovers
If you enjoy this classic recipe, you may also love:
- Peanut Butter Fudge
- Maple Walnut Fudge
- White Chocolate Cranberry Fudge
- Cookies and Cream Fudge
- Rocky Road Fudge
- Salted Caramel Fudge
- Mint Chocolate Fudge
- Chocolate Pecan Fudge
- Oreo Fudge
- Espresso Chocolate Fudge
Every variation offers its own unique flavor while preserving the creamy, melt-in-your-mouth texture that makes homemade fudge so special.